
In this tutorial we’ll look at how to paint a fox in watercolor. Painting an animal, like painting a person, can be quite a challenge, especially if drawing isn’t your strong point. So to help with this, I’ve included a pdf file that you can download and print on to A4 watercolor paper.
This painting only requires three colors and potentially could be done with just one brush though I admit, I’ve actually used four brushes in total. A natural haired mop brush for the fur, a small round detail brush for the eyes, a rigger for the whiskers. and a Hake brush for adding clean water to facilitate blending in some areas.
- Materials List
- Brushes
- Paper
- Miscellaneous
- Step 1: Choosing A Good Reference Photo
- Step 2: Initial Sketch
- Step 3: Start With The Eyes
- Step 4: Dry The Eyes
- Step 5: Add Eye Details & Fur
- Step 6: Add The Lightest Shadows
- Step 7: Painting The Fur
- Step 8: Darkening The Fur
- Step 9: Adding A Second Glaze
- Step 10: Adding Details
- Step 11: Painting The Whiskers
- Step 12: Final Touches
- Watch The Video
Materials List
Burnt Sienna: Winsor & Newton | Daniel Smith
Ultramarine Blue: Winsor & Newton | Daniel Smith
Paynes Gray: Winsor & Newton | Daniel Smith
Brushes
Winsor & Newton Series 150 Bamboo Round #6 Buy From Amazon
Rigger Brush Buy from Amazon
1″ Hake Brush Buy from Amazon
Princeton round detail brush 9650R-2 Buy from Amazon
Princeton Synthetic Kolinsky Mop Brush Buy from Amazon
Paper
Arches watercolor paper block, cold press, 9″ x 12″, 140 pound Buy from Amazon
Miscellaneous
Easy release painters masking tape Buy from Amazon
Adjustable desktop easel Buy From Amazon
How to Paint A Fox In Watercolor Step By Step
Total Time: 45 minutes
Step 1: Choosing A Good Reference Photo
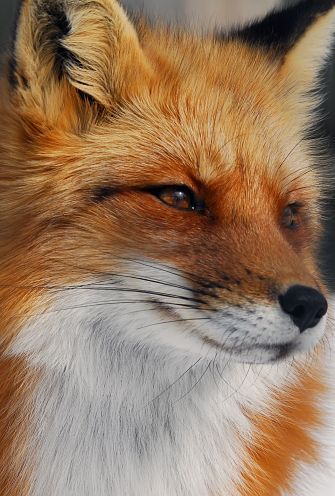
I found the above reference photo on Pinterest, credits to the unknown original photographer. I liked the three quarter profile and the watchful facial expression. The tips of the ears are cropped out of the photo but it wasn’t too difficult to fill in the blanks.
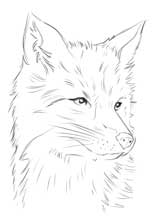
Step 2: Initial Sketch
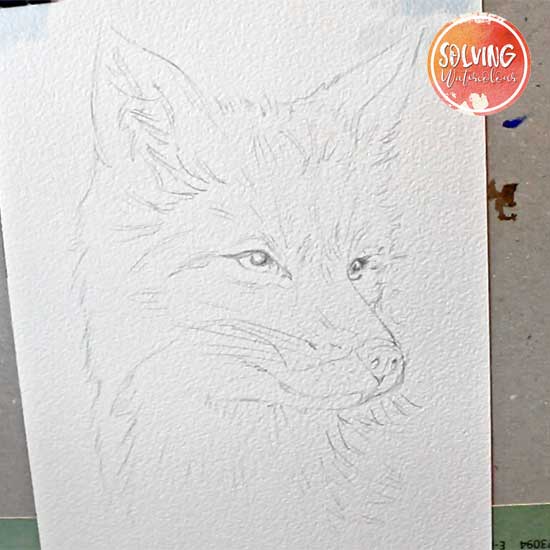
As you can see my initial drawing was quite detailed. When I am painting a realistic subject like this, very small drawing errors can really throw everything off, so it’s important to understand the three dimensional form of the fox’s face, so I included a few more details than were strictly necessary in order to make sure that I put the shadows in the right places.
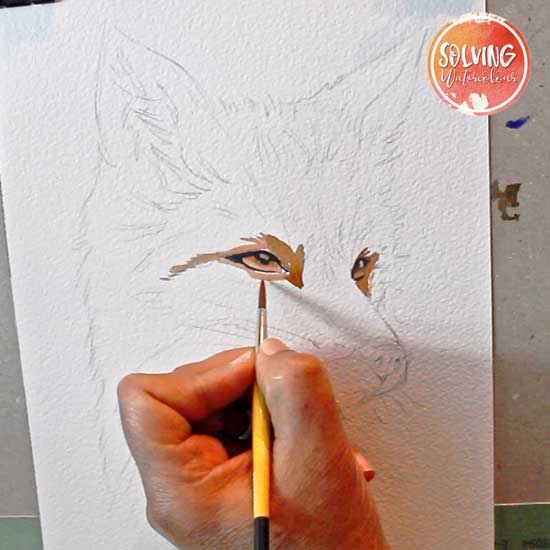
Step 3: Start With The Eyes
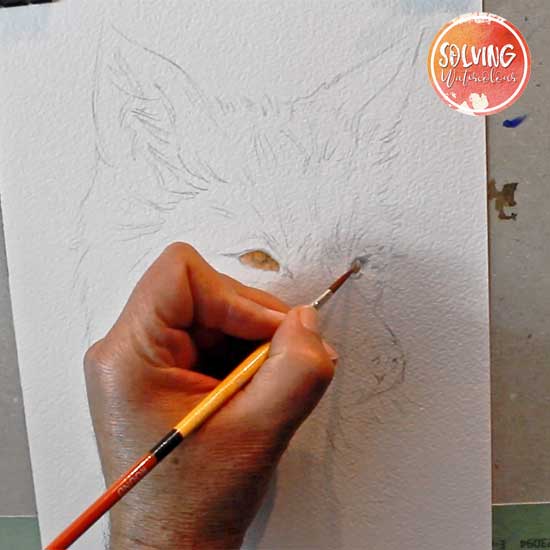
The thing about artistic rules is knowing when you should break them. I’m going to break the rules with this painting by starting with the darkest parts first, in this case, the eyes.
The eyes bring a subject to life, they are the most crucial and also the trickiest part of the painting to get right. If I’d done this the “Proper” way and painted light to dark I wouldn’t know if the painting had been successful until the very last brush strokes and that’s a lot of psychological pressure to put on yourself. Start with the lightest parts of the eyes using a small round brush with a thin wash of Burnt Sienna.
Step 4: Dry The Eyes
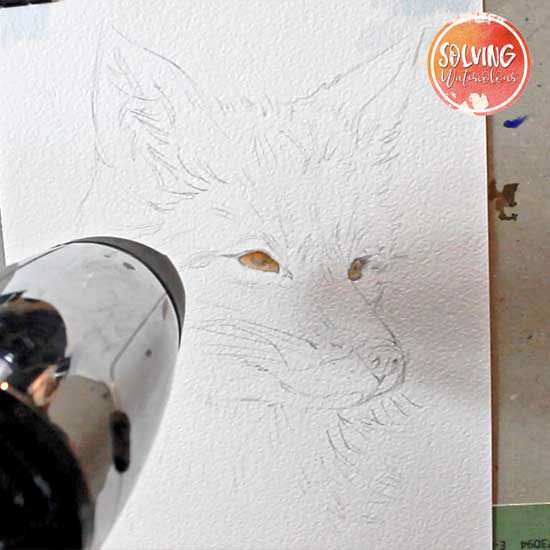
Dry the eys thoroughly. I’ve used a hair dryer for convenience but if you allow colors to dry naturally, they will often remain more vibrant.
Step 5: Add Eye Details & Fur
Using a small round brush with a mix of Paynes Grey and Ultramarine, I slowly and carefully added the fox’s dark eye markings and pupils. Remember to leave a small highlight in teach eye as this will really bring the eyes to life. The highlight is usually seen reflected in the pupil in the top half of the of the eye. I’ve also lifted out some paint from the lower half of the eye as this is illuminated by internal reflection.
The darkest fur is around the eyes. Paint those shapes in early and allow them to dry. Because of the transparent nature of watercolor they will continue show through the glazes I’m going to be adding. I could just as easily have added them at a later stage.
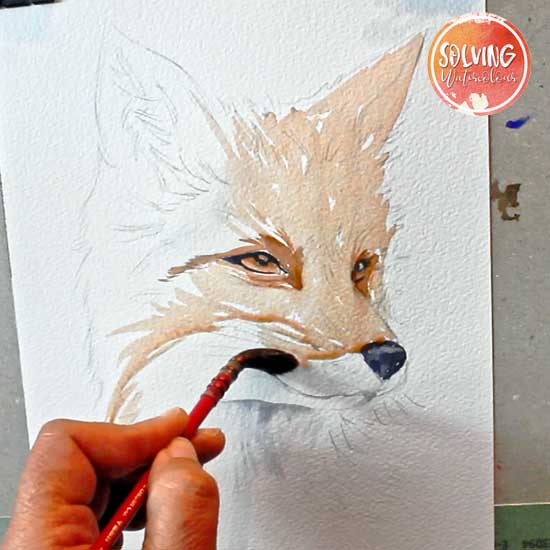
Step 6: Add The Lightest Shadows

With a strong mixture of Paynes Grey and Ultramarine, I painted in the shape of the nose. I lifted out the highlight on the nose with my brush, wiping off the excess paint on a tissue. I used a much weaker mixture of Paynes Grey and Ultramarine for the grey shadows under the mouth and around and under the muzzle.
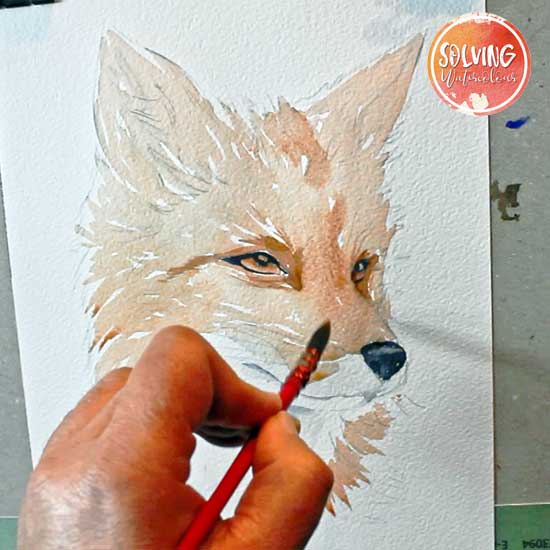
Step 7: Painting The Fur
When the eyes and nose are finalized make sure that everything is completely dry. Use a hairdryer if necessary. If the paint hasn’t completely dried it will bleed and run into the washes that we are going to paint next and the crisp hard edged shapes that we painted so carefully will become a runny, blurry mess.
I’ve switched to a mop brush for the fur. The mop brush can hold a large amount of paint while maintaining a sharp point. I’ve applied a thin wash of Burnt Sienna in a series of flicks and strokes to give the impression of patches of fox fur.
Step 8: Darkening The Fur
While the initial wash was still wet I dropped in a stronger mix of Burnt Sienna in the area between the eyes where the fur is a bit darker.
Step 9: Adding A Second Glaze
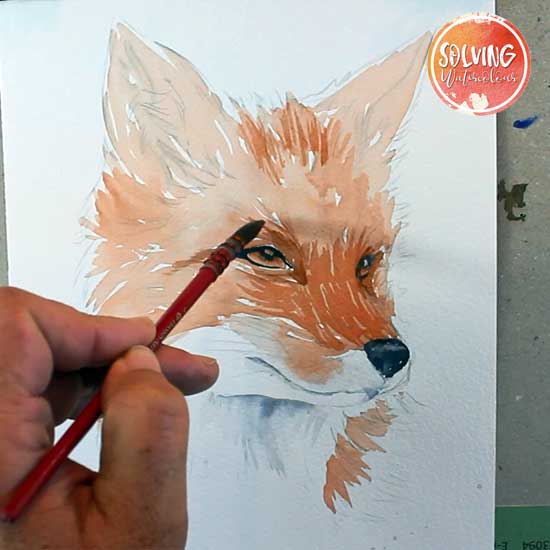
Allow the wash to dry before glazing over the top with more strokes of Burnt Sienna building up layers of darker fur along the muzzle, around the eyes and on the side of the head.
Step 10: Adding Details
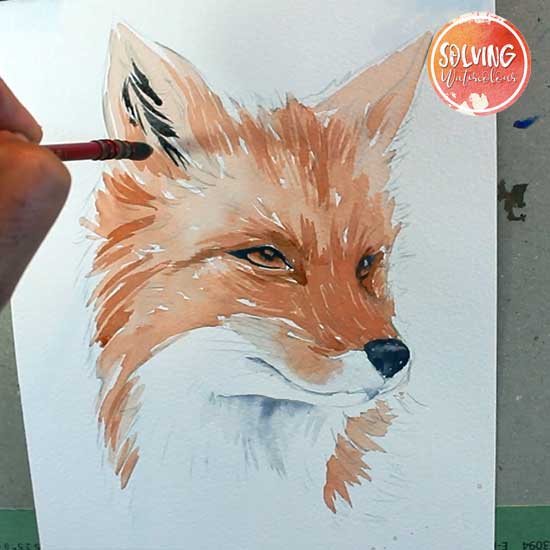
I mixed some Ultramarine and Paynes Grey with Burnt Sienna to create a dark neutral Grey for the dark fur on the ears.
Step 11: Painting The Whiskers
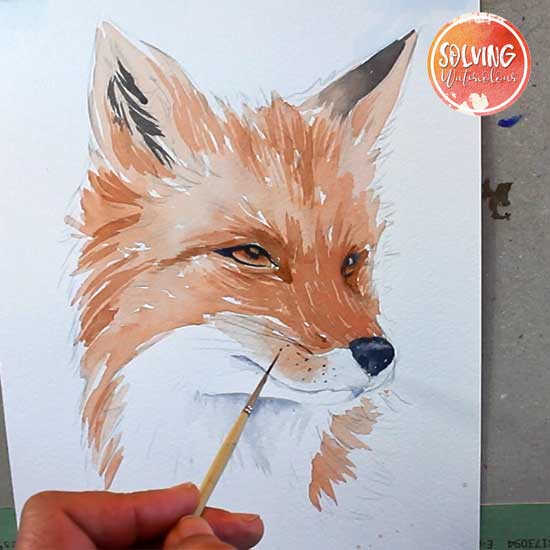
A rigger works well for flicking in the long thin whiskers on the fox’s muzzle.
Step 12: Final Touches
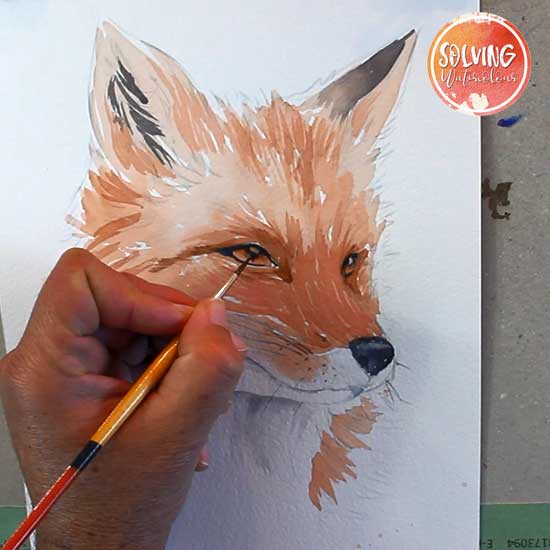
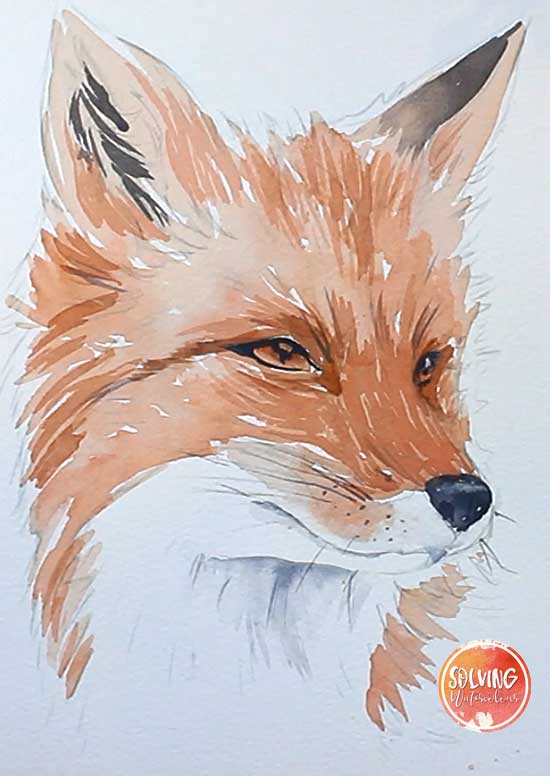
Adding some final touches to the eyes, If necessary. I felt that maybe the eyes looked a little bit too human and not quite foxy enough! So I switched back to my small round detail brush to extend the pupils down slightly
Here is the final painting. If you enjoyed this tutorial, why not check out some of my other animal painting tutorials.
Watch The Video
To get a better understanding of how to paint a fox in watercolor. Head over to my YouTube channel to watch the short video I made about this, which features the whole painting process condensed down to a few minutes.

How To Paint a Cat in Watercolor
How To Paint A Dog In Watercolor
