Christmas is coming and you really need to get those Christmas cards in the post. Here’s how you can quickly create your own personalised Christmas cards with a simple Christmas wreath design that won’t take you hours and hours.
With a little practice, this wreath painting shouldn’t take more than ten, or fifteen minutes and you can do the whole thing with just one brush and a small palette of colours.
Watch The Video
Materials List
I’ve linked to where you can purchase the paints and the other art materials I used from Amazon.
Sap Green: Winsor & Newton | Daniel Smith
Pthalo Blue: Winsor & Newton | Daniel Smith
Ultramarine Blue: Winsor & Newton | Daniel Smith
Prussian Blue: Winsor & Newton |Daniel Smith
Paynes Gray: Winsor & Newton | Daniel Smith
Cadmium Yellow: Winsor & Newton | Daniel Smith
Cadmium Orange: Winsor & Newton | Daniel Smith
Brushes
No 2 Round Brush: Buy From Amazon
Paper
Arches Watercolor Paper Block, Cold Press, 9″ x 12″, 140 pound Buy from Amazon
Misc
Easy release painters masking tape Buy from Amazon
Watercolour Palette Buy from Amazon
Fantasea Misting Spray Bottle Buy from Amazon
Painting The Wreath
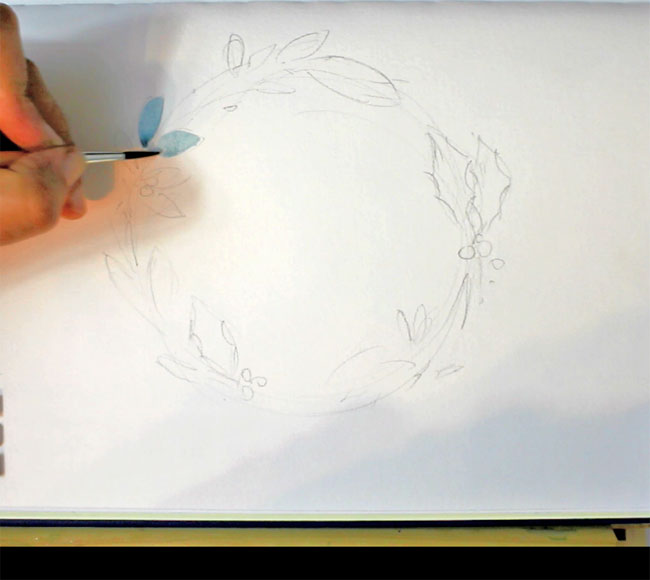
To create a watercolour Christmas wreath, it’s not essential to make a detailed drawing but I did start by roughly sketching a circle and indicating the shapes of the elements I plan to include.
For this wreath, I’m going to include some Mistletoe and Holly of course. I’ll also include some other elements such as Pine needles and some non -specific leaves and for colour contrast I’ll include some red Holly berries.
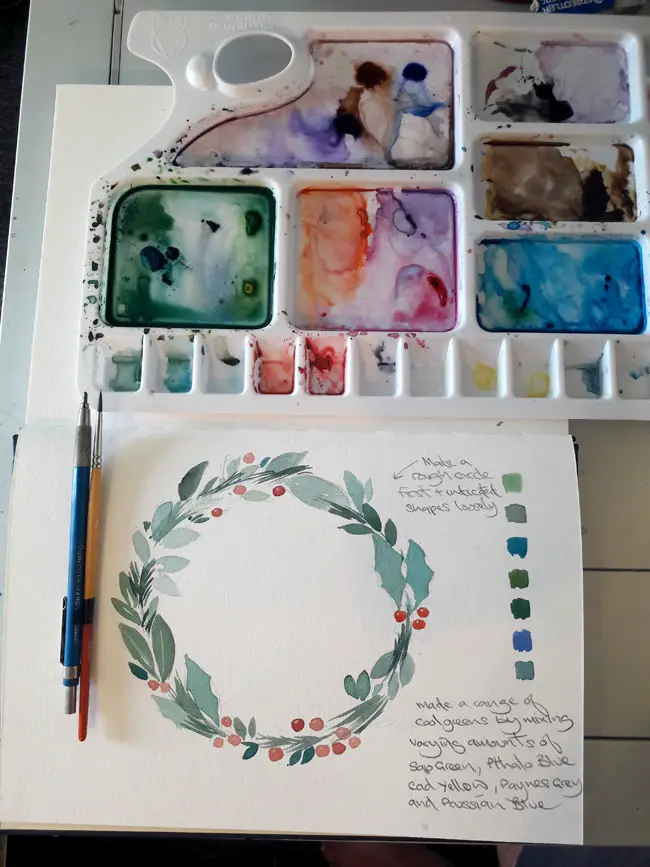
Mixing Greens
As the wreath will be predominantly green it’s important to mix a range of greens. I’ve used one pre-mixed green. Sap Green. I normally recommend mixing all your greens from scratch but Sap Green is one of the more natural looking greens that you can buy and I also modifiied it considerably by adding Paynes Grey and a range of blues.

The greens I’m using deliberately all lean strongly to the cool side. In other words, they are all blue greens. All the blues and greens are side by side in one of the larger wells of my palette as I want them to mix freely naturally creating variation. I keep my reds separated from the greens of course, as it’s the complement of green and will create a dull neutral if they mix which isn’t what I want in this case.
For more on colour mixing basics and colour wheels please see this post
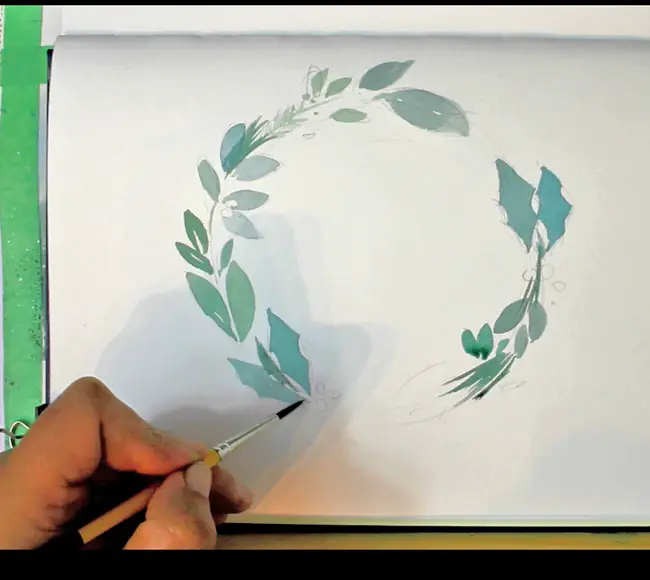
As always, I started with the lightest colours first, using a pale green mixed from a very dilute Prussian Blue and a little Sap Green to paint the distinctive rounded shapes of the small Mistletoe leaves.
Balancing The Shapes
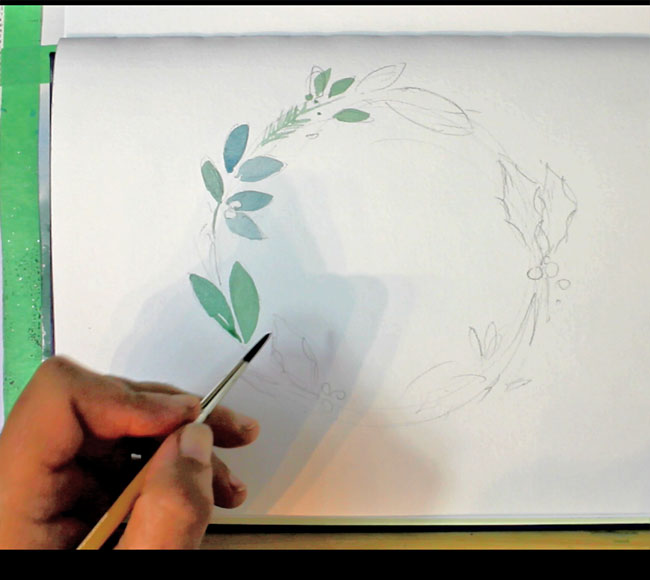
Then it’s simply a matter of working my way around, adding a couple of Holly leaves here and some Pine needles there. The No.2 round brush that I’m using on this entire painting is the perfect size and shape for making neat, well formed leaf shapes.
Now all the basic shapes are painted in there are still some gaps. I added some strokes with a darker green to indicate little groups of Pine needles. Add these where required in order to fill in the gaps but don’t overdo it.
Notice that I’ve added some smaller groups of leaves here and there. This adds a little extra weight where the wreath looks a bit thin or unbalanced.

Final Touches
For the Holly berries you could use pretty much any mid red. I used Cadmium Red and lightened it with a bit of Cadmium Orange. The main point here is to complement the cool greens with a warm red. This helps to create a balance of colours as well as shapes.
The final step was to place little highlight of Permanent White on each berry.
If calligraphy is your forte, you can add a handwritten phrase or you can just cheat like I did! Print your lettering onto a sheet of A4 card and then cut out and glue your wreath above it.