- Watercolor Feather Painting Techniques
- Glazing
- Materials List
- How To Paint Watercolor Feathers: Step By Step Tutorial
- Wet on dry: Sketching the feather
- Wet on dry step1: Initial shape
- Wet on dry step 2: Adding details
- Wet on dry 3: Adding a shadow
- Wet on wet step 1: Controlling the edges
- Wet on wet step 2: Initial Shape
- Wet on wet step 3: Darkening areas
- Variegated Wash: Initial Shape
- Variegated Wash: Dropping in colors
- Glazing: Initial Shape
- Glazing: Final Step
- Conclusion
- Useful Links
Watercolor Feather Painting Techniques
Learning to paint watercolor feathers is a simple and fun way to help you master some simple but essential watercolor skills. The four techniques that we are going to look at today are as follows.
Wet On Dry Wash
This is when wet paint is applied to dry paper.
Wet On Wet Wash
This where wet paint is applied to wet paper.
Variegated Wash
A wet wash is “Charged” with another color, or colors to create subtle blends and transitions.
Glazing
This is where wet paint is applied over dry paint. Depending on the transparency of the color used this can create a third color. e.g painting a blue over yellow will make green.
Materials List
Paints
Alizarin Crimson: Winsor & Newton | Daniel Smith
Viridian: Winsor & Newton | Daniel Smith
Dioxazine Purple: Winsor & Newton | Daniel Smith
Brushes
Paper
Arches Watercolor Paper Block, Cold Press, 9″ x 12″, 140 pound Buy from Amazon
Miscellaneous
Adjustable desktop easel Buy From Amazon
Misting spray bottle Buy from Amazon
Easy release painters masking tape Buy from Amazon
How To Paint Watercolor Feathers: Step By Step Tutorial
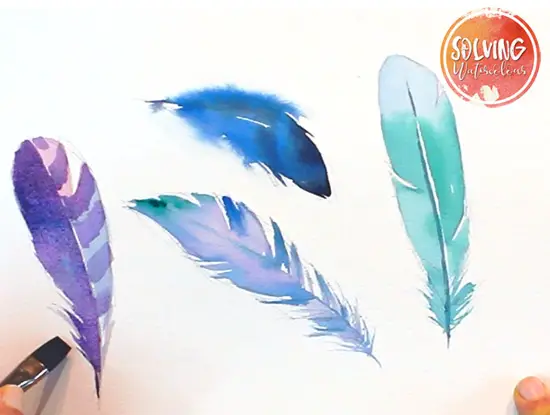
How To Paint Watercolor Feathers
Total Time: 45 minutes
Wet on dry: Sketching the feather
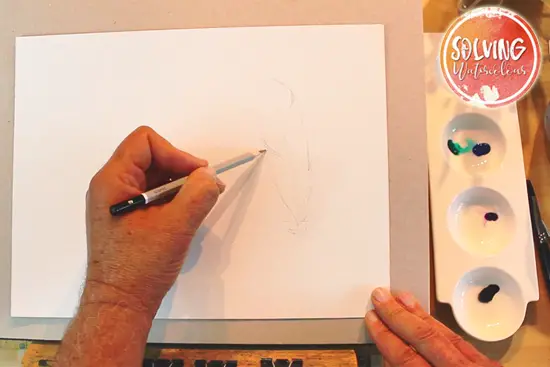
Start by sketching the rough outline of your feather. Add some breaks in the feather’s outline to add a bit of realism.
Wet on dry step1: Initial shape
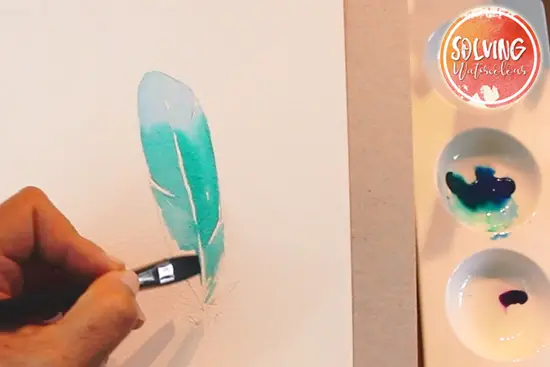
Here I’m using a 1/4″ flat brush and a mix of Ultramarine and Viridian to paint the shape of the first feather. This is a wet on dry wash that I’m using and as you can see it creates a hard edged shape. I’ve left an unpainted gap in the middle of the feather to represent the quill.
Wet on dry step 2: Adding details
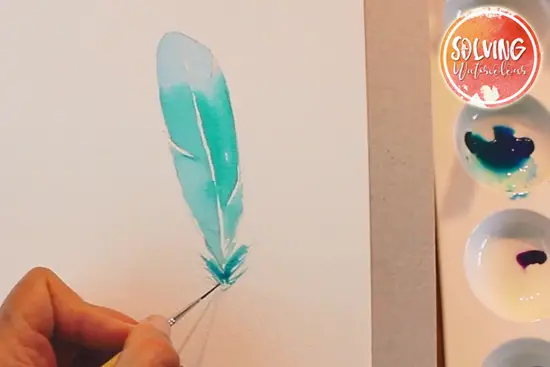
I’ve switched from a flat brush to a rigger to paint the small fluffy details at the base of the feather.
Wet on dry 3: Adding a shadow
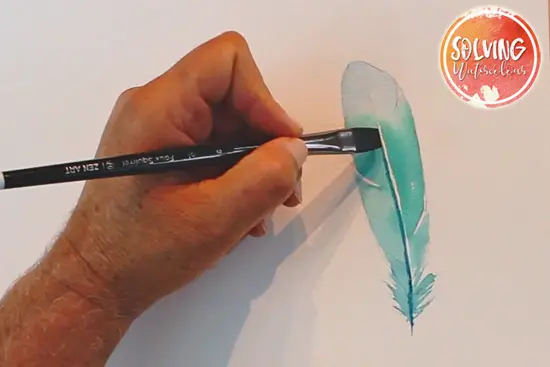
Paint a thin line of shadow on one side of the quill. I’m using the edge of my flat brush to do this, though I could of course use a small round brush, or a rigger whaterver you feel more comfortable with.
Wet on wet step 1: Controlling the edges
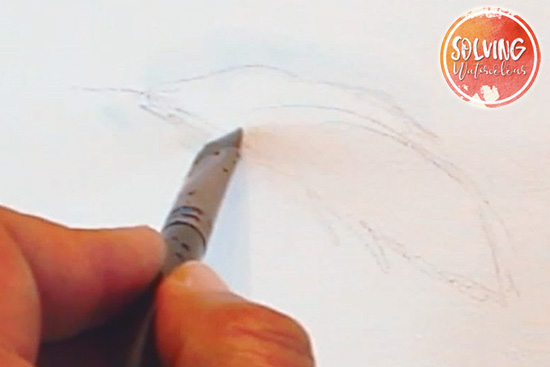
Start by brushing a small amount of clean water around the edges of the feather.
Wet on wet step 2: Initial Shape
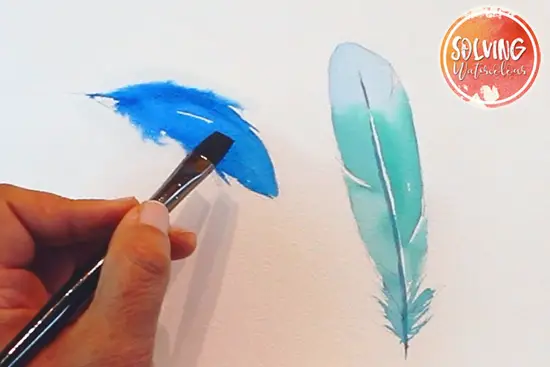
I’ve painted in the shape using Prussian Blue. See how the color bleeds into the wet edges creating a soft blurred effect. As before, I’ve left a little unpainted white shape in the center of the feather.
Wet on wet step 3: Darkening areas
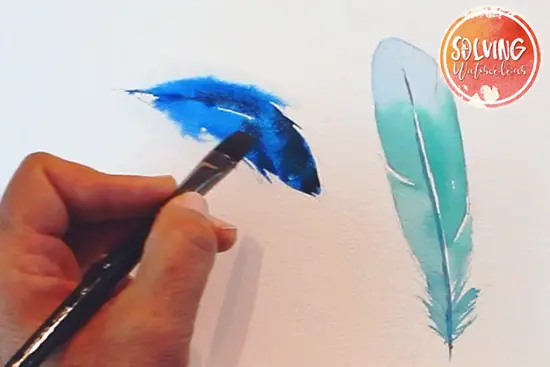
While the paint is still wet, I can drop in more color to darken the areas I want, and it will blend out smoothly.
Variegated Wash: Initial Shape
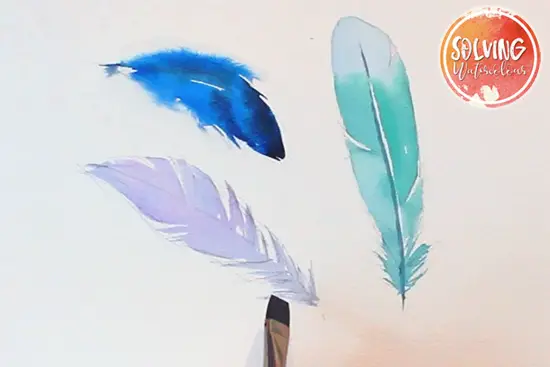
I’ve made the shape of this next feather a little bit more roughed up and irregular using a pale, diluted, Dioxazine Violet.
Variegated Wash: Dropping in colors
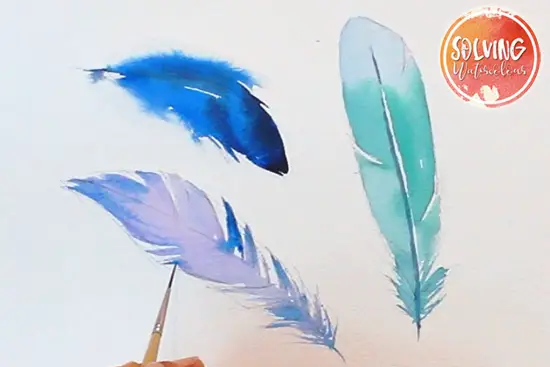
Just like in the last example, start dropping in more color. The difference this time is that I’m not going to stick to one color. I’m using a rigger brush for precision and carefully adding different colors such as Prussian Blue and Viridian to the wet paint and jus allowing them to blend and bloom.
Glazing: Initial Shape
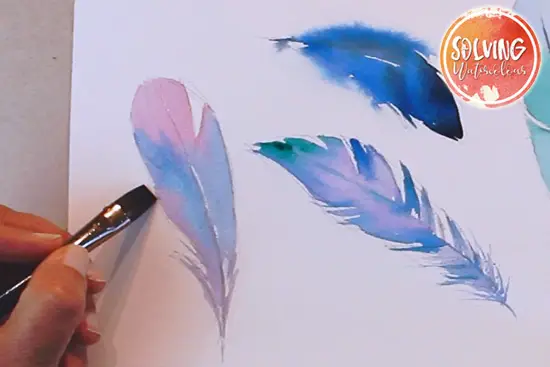
For this fourth and final feather, I’m using a very pale Alizarin Crimson for my initial wash. Next I’m going to add a second color, Ultramarine Blue creating a variegated wash of two colors.
Glazing: Final Step
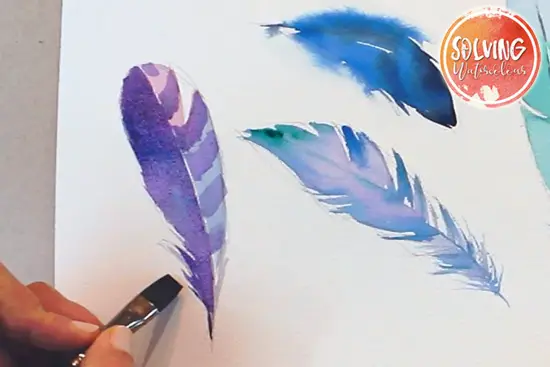
Allow the initial wash to dry completely. I’ve chosen to add bands of Dioxazine Violet as my color for glazing over the top.
Conclusion
Once you’ve mastered these four techniques you’ll be able to apply them to many more subjects. See the links below to get some more ideas and techniques.
Useful Links
24 Essential Watercolor Painting Techniques

