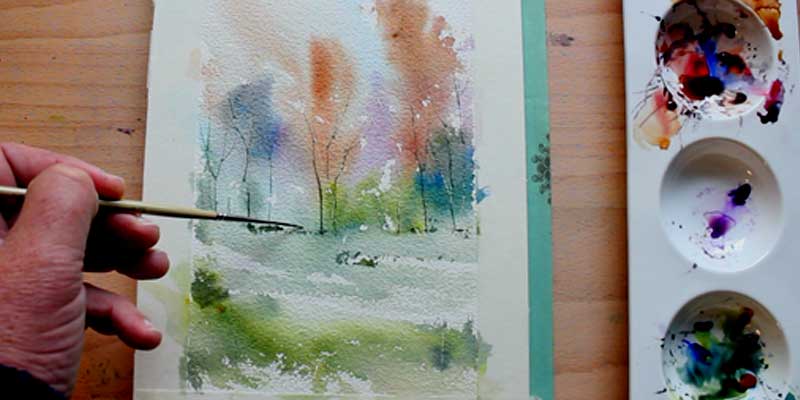
Autumn, with its vibrant hues and the crisp scent of falling leaves, has always been a favorite season for artists. The warm colors and changing landscapes provide endless inspiration. In this tutorial you’ll learn explore how to create a spontaneous autumn watercolor landscape using just three brushes and your imagination. No reference photos needed – only your artistic instincts. The key to success? Embrace fluidity and avoid overthinking.
Materials List
Paints
Ultramarine Blue: Winsor & Newton | Daniel Smith
Cerulean Blue: Winsor & Newton | Daniel Smith
Prussian Blue: Winsor & Newton | Daniel Smith
Alizarin Crimson: Winsor & Newton | Daniel Smith
Paynes Gray: Winsor & Newton | Daniel Smith | Daniel Smith
Dioxazine Purple: Winsor & Newton | Daniel Smith
Burnt Sienna: Winsor & Newton | Daniel Smith
Burnt Umber : Winsor & Newton | Daniel Smith
Brushes
Rigger Brush ( For thin lines) Buy from Amazon
Winsor & Newton Series 150 Bamboo Round #6 Buy From Amazon
1″ Hake Brush Buy from Amazon
Paper
Arches Watercolor Paper Block, Cold Press, 9″ x 12″, 140 pound Buy from Amazon
Miscellaneous
Adjustable desktop easel Buy From Amazon
Misting spray bottle Buy from Amazon
Easy release painters masking tape Buy from Amazon
Burnt sienna is a color that effortlessly evokes the essence of autumn. This warm, earthy hue resembles the rich, rustic tones that dominate the natural landscape during this season. The deep, reddish-brown shade of burnt sienna mirrors the changing leaves as they transition from their vibrant green to the fiery reds, oranges, and browns of fall. It captures the essence of falling leaves, crackling bonfires, and the cozy, comforting feeling of autumn. Apart from that, it’s one of my favourite colors. So It stands to reason that any Autumn watercolor landscape painting that I do will rely heavily on it.
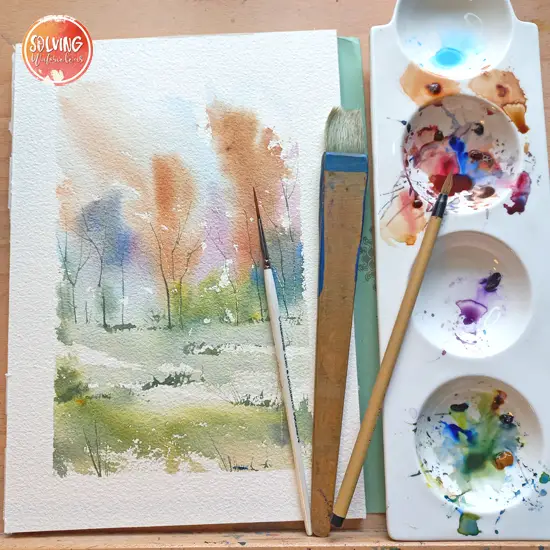
Spontaneous Autumn watercolor Landscape
Total Time: 30 minutes
Step 1: Wetting the Paper
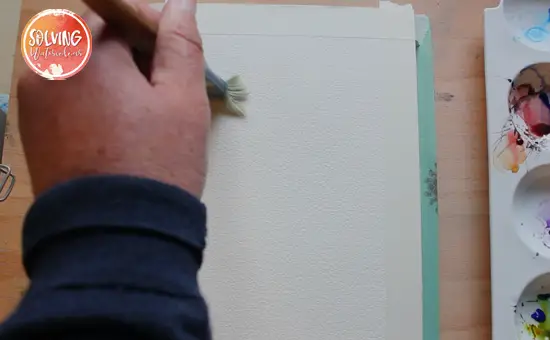
Start by wetting your watercolor paper with clean water. You can use any brush to do this as long as it is large enough I used a my 1″ Hake brush to do this. Wet the paper in a somewhat random way, leaving some dry spots. This technique sets the stage for a beautiful mix of hard and soft edges when you add your colors.
Step 2: Background Sky
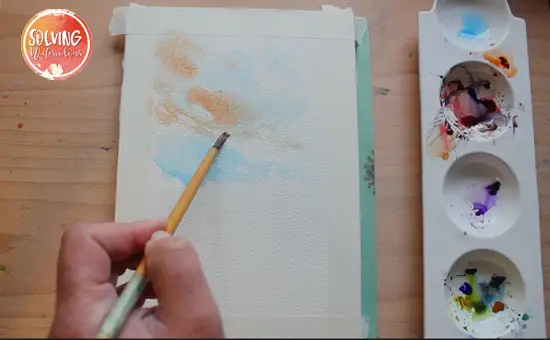
Begin by using a bamboo brush to add Cerulean Blue for your background sky. To warm up the sky, incorporate a touch of Burnt Sienna. These initial washes will serve as the foundation for the rest of your landscape.
Step 3: Adding Trees

Now, it’s time to bring some life to your painting. On the right side, create a tree with a mix of Burnt Sienna, Burnt Umber, and Alizarin Crimson. These colors will give your tree a natural autumnal feel. Continue by adding more trees with Dioxazine Purple for contrast and depth.
Step 4: Cooler Colors
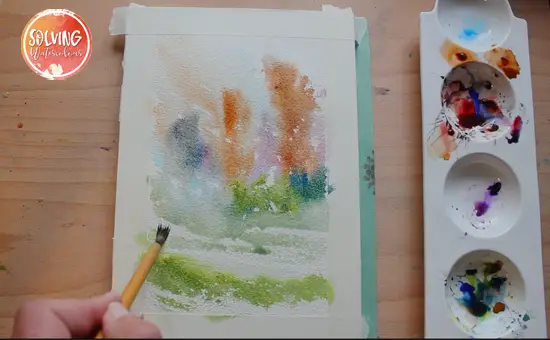
To balance your composition, introduce some cooler colors. Create another background tree using a mixture of Paynes Gray and Ultramarine. In the foreground, use a palette of Gamboge Hue, Ultramarine, and Prussian Blue, mixing these in varying amounts as you paint. Leave some areas of white paper to add texture and dimension to your foliage and grass.
Step 5 Scraping Out
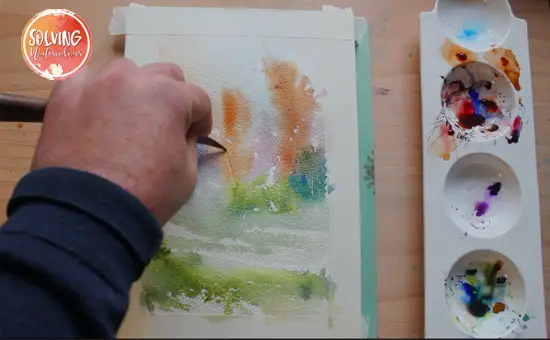
While the paper is still wet, scrape out branches by firmly scraping out lines with a palette knife.
Step 6: Texture and branches
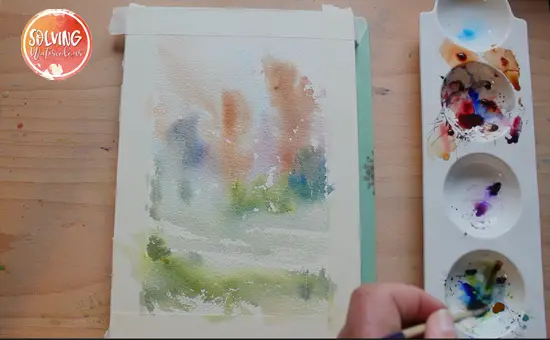
Once you’re satisfied with your initial washes and details, use a hairdryer to thoroughly dry your painting. This step prepares your paper for the next layer.
Step 7: Adding Details
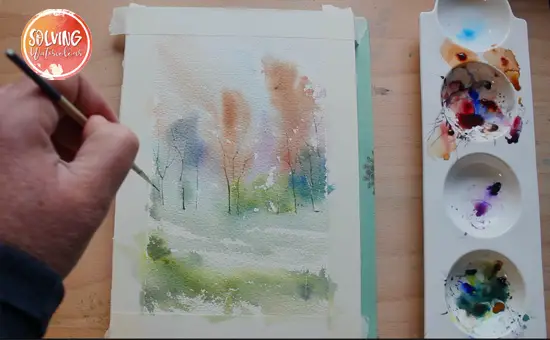
Switch to a rigger brush and add more trees and details to your landscape. You can create almost any dark neutral color that works for your trees. In this example, we’ve used a mixture of Paynes Grey, Ultramarine, and Burnt Umber that’s almost black. Don’t forget to include some tufts of dark grass at the base of the trees and in the foreground to enhance depth.
Step 9: Final Details
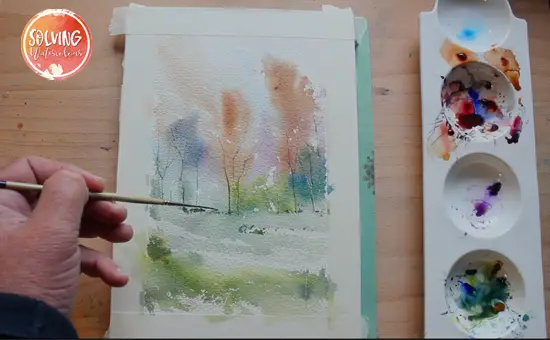
Conclude your painting by adding dark blades of grass in the foreground. These small details serve to strengthen the illusion of depth and provide the finishing touches to your spontaneous autumn landscape.
Creating a spontaneous autumn watercolor landscape is all about letting your creativity flow and embracing the beauty of the season. Remember not to overwork your painting; capturing the spontaneity of the moment is key. We hope this step-by-step guide has inspired you to grab your watercolor palette, let your imagination soar, and create your own stunning autumn masterpiece.
Watch The Video
Please share your results and experiences with me in the comments below. We’d love to see your unique interpretations of this spontaneous watercolor landscape! Happy painting!

